
The difference between a clean removal and an expensive repair often comes down to how professional arborists protect your landscaping and hardscaping during a major tree removal. We plan every step around what stays, not just what comes down.
A large tree can weigh several tons, and its branches stretch over flower beds, irrigation lines, patios, and walkways. Without a deliberate protection strategy, soil gets compacted, roots get torn, and concrete can crack under the weight of equipment. In the sections below, we detail the specific methods we use to keep your property intact from the first assessment to the final cleanup.
Before any removal, understand when a permit is required under local bylaws and what the application involves.
Pre-Removal Site Assessment and Planning
Evaluating Tree Condition and Surrounding Structures
Before any saw starts, we walk the entire site. We look at the tree’s lean, decay, and branch structure, but we also map every feature that could be damaged: the exact edge of the lawn, the location of underground sprinkler lines, the paver border along the walkway, and the clearance needed for equipment.
- Tree lean and canopy weight distribution
- Condition of major limbs and attachment points
- Proximity to structures, fences, and overhead lines
- Location of irrigation heads, landscape lighting, and root zones
Identifying Potential Hazards to Landscaping and Hardscaping
We flag raised edges on patios or loose paver sections that could shift under foot traffic. We note low-hanging branches that could scrape against siding when lowered. We also check soil moisture—saturated turf is far more prone to rutting than dry ground, so we may adjust our equipment path accordingly.
Developing a Customized Removal Plan
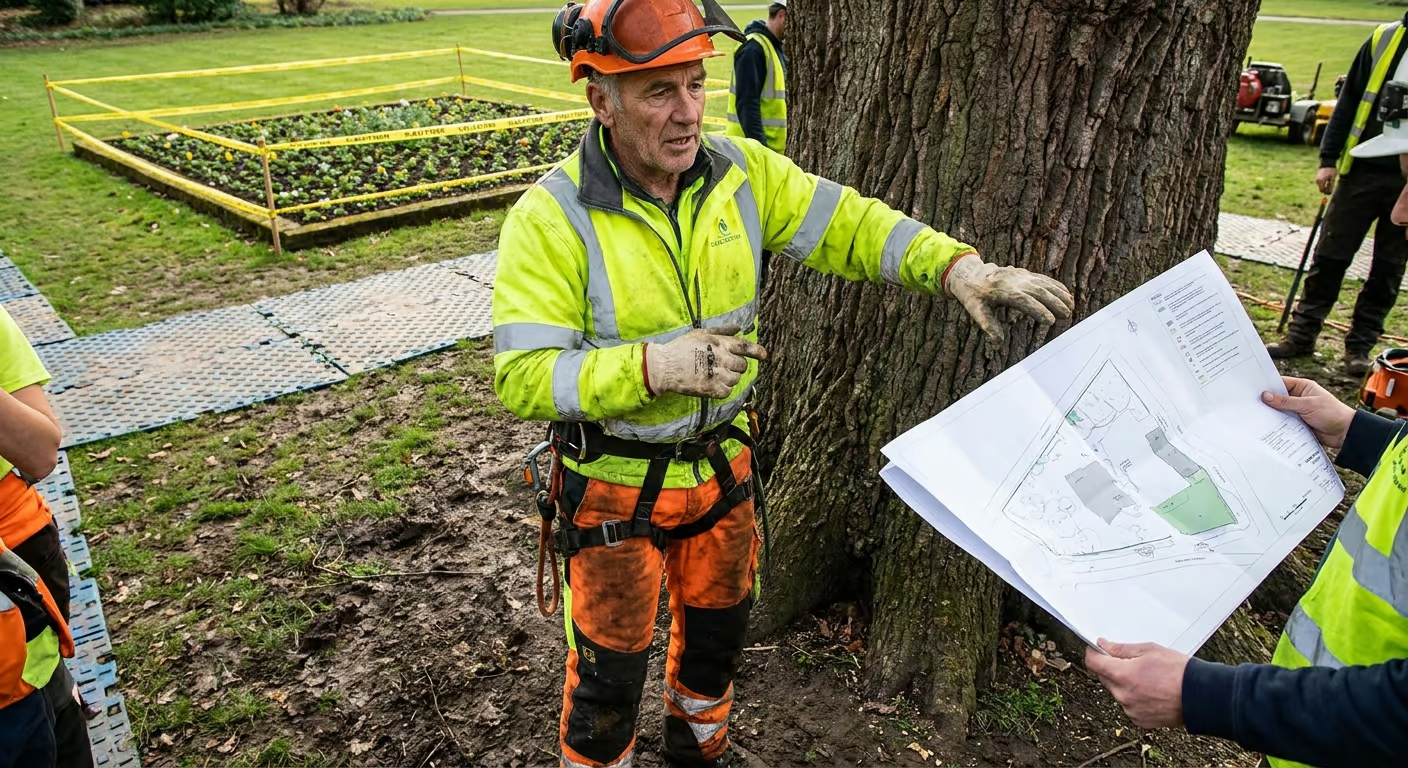
No two removals are the same. We decide where the chipper will park, which route the brush will travel, and whether sections will be lowered by rope or lifted by crane. The plan includes specific protection measures for each vulnerable area, often written into a site map so every crew member knows exactly where mats go and where machinery cannot tread.
Saturated ground and fresh cracks around a trunk are red flags; here are the warning signs of sudden soil failure to watch in heavy rain.
Protecting Landscaping During Removal
Laying Ground Protection Mats to Prevent Soil Compaction
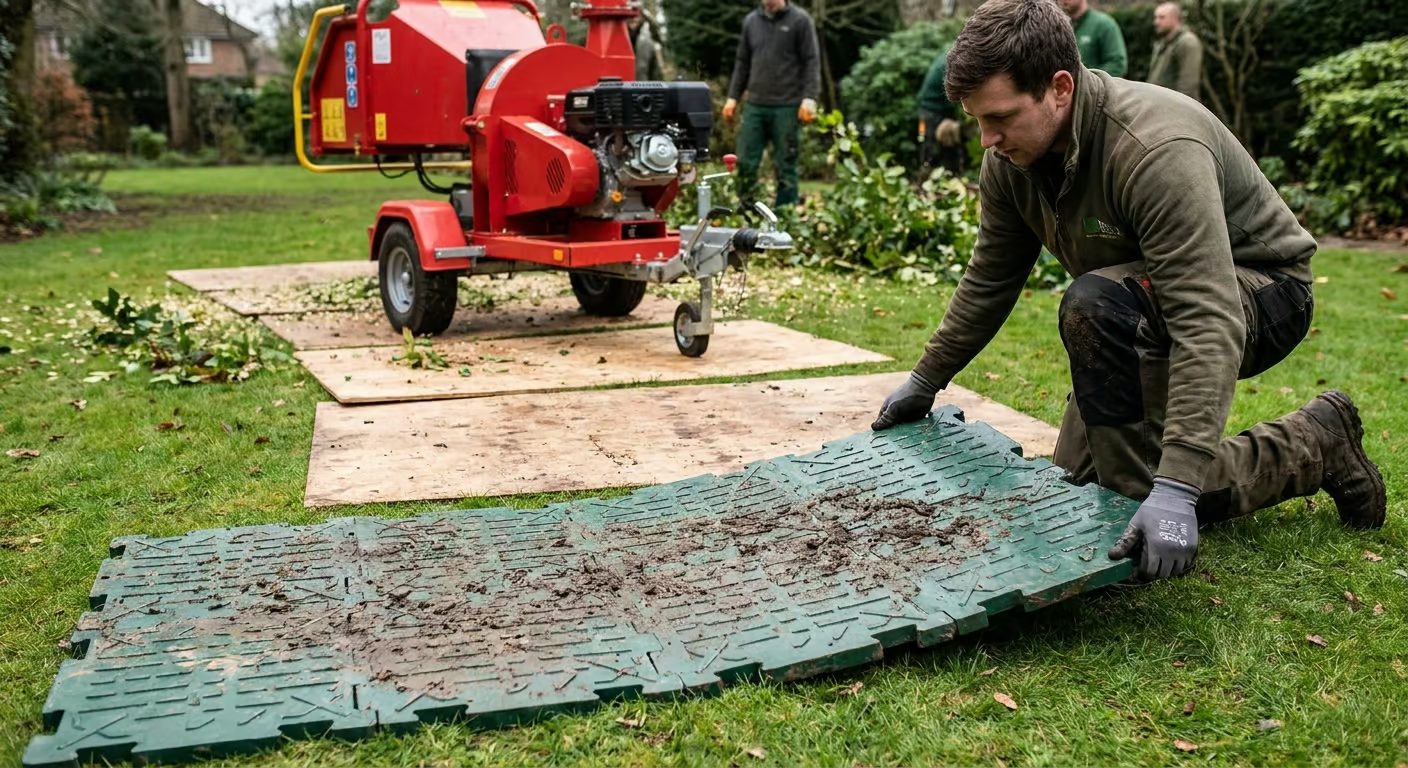
Ground protection mats are the first line of defense. We lay interlocking mats across turf and garden beds before any equipment rolls onto the property. These mats spread the load of a mini skid steer or a wheeled chipper over a broad area, preventing deep ruts and soil compression that can suffocate roots for years.
Creating Equipment Paths with Plywood
Plywood paths serve a similar purpose for narrower access routes. We use 3/4-inch plywood sheets laid end-to-end to create a temporary roadway where the ground is soft or where we need to protect an established root zone. The smooth surface also keeps tires from tearing up grass edges.
Managing Debris to Avoid Damage to Plants and Lawns
Debris management is about control. We place tarps under the drop zone to collect sawdust and small branches. Brush is dragged, not thrown, to the chipper. And before we start, we tie back any low ornamental grasses or perennials that stick into the work path.
Protecting Hardscaping During Removal
Using Protective Barriers for Patios and Walkways
Hard surfaces are the easiest to damage and the hardest to repair. A dropped limb can crack a concrete patio, and a chipper’s steel tracks can scratch pavers. We place plywood or rubber mats over patios and walkways where any foot or wheel traffic might cross. For vertical surfaces like retaining walls or fence lines near the drop zone, we set up temporary plywood barriers to deflect stray branches.
Keeping Heavy Machinery Off Hard Surfaces
We keep heavy machinery off hard surfaces entirely whenever possible. Aerial lifts and chippers stay on the street or on designated turf areas protected by mats. If a driveway must be crossed, we lay down heavy-duty road plates or thick plywood to bridge the surface and distribute weight.
Strategic Placement of Vehicles and Equipment
Vehicle placement is planned before the first cut. We park the chip truck where the chipper’s discharge chute points away from flower beds and windows. The crane, if used, is positioned on the most stable, least damaging ground, often the driveway with outrigger pads spreading the load.
Minimizing Impact on Surrounding Trees and Vegetation
Pruning and Tying Back Nearby Branches
We don’t just protect the lawn; we protect the trees that are staying. If a neighboring tree’s branches extend into the work zone, we prune them back to a safe distance or tie them out of the way with soft webbing. This prevents bark wounds and broken limbs from swinging ropes or falling sections.
Creating Buffer Zones Around Valuable Plants
Buffer zones are simple but effective. We mark a circle around valuable shrubs, young trees, or specimen plants with caution tape or cones. Nothing is stacked, dragged, or placed inside that zone. For root-sensitive areas, we add a layer of mulch or plywood to absorb impact.
Using Felling Wedges and Directional Control
When a tree is felled in one piece, directional control is critical. We use hinge cuts, felling wedges, and occasionally a pull line to guide the trunk precisely into the planned drop zone. This keeps the falling mass away from landscape beds, fences, and other trees. On slopes or tight sites, we skip the single-fell entirely and move to sectioned dismantling.
Controlled Dismantling and Rigging Techniques
Section-by-Section Dismantling
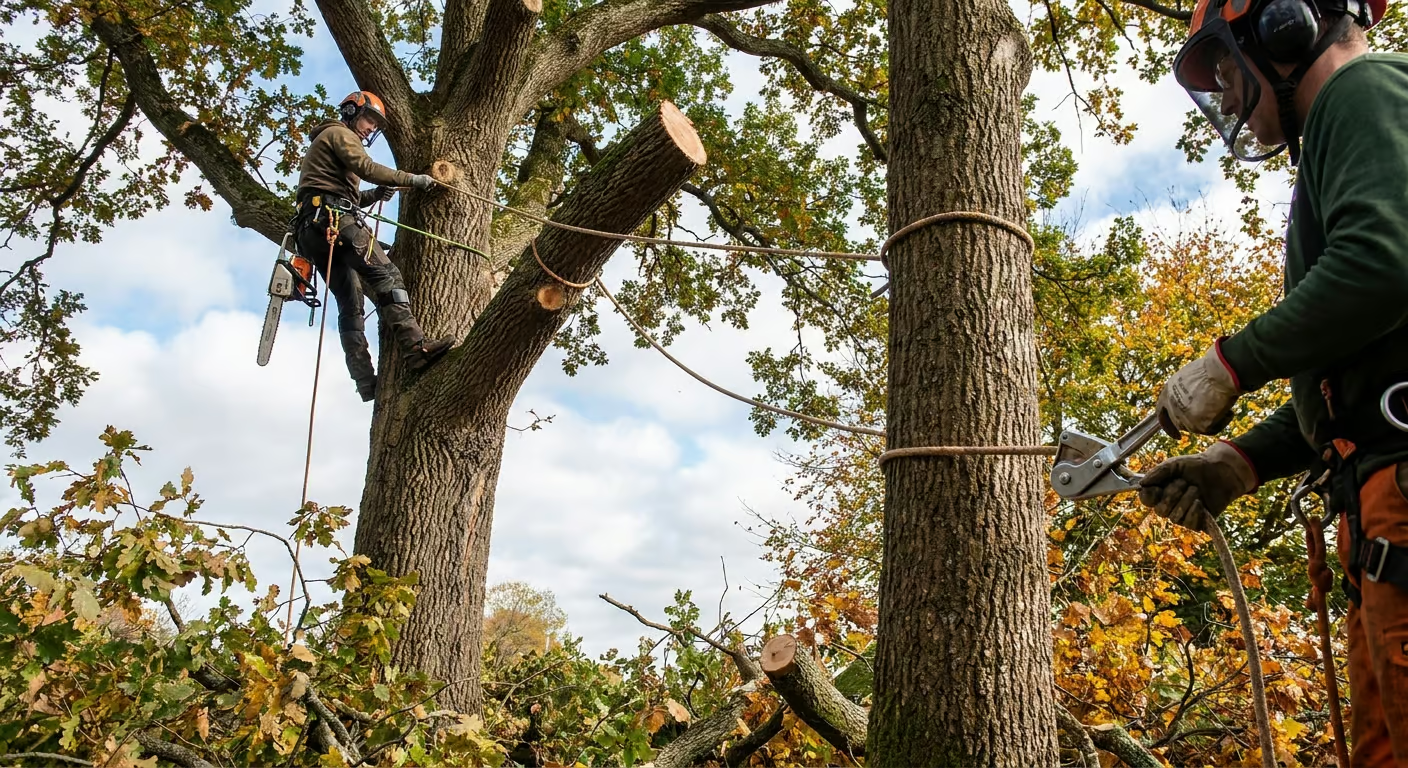
For large trees near delicate features, we remove the tree in small, manageable sections rather than felling it whole. A climber ascends, cuts a limb, and the piece is lowered by rope rather than dropped. This section-by-section dismantling gives us control over where every branch lands—usually on a tarp or directly into a designated drop zone.
Using Ropes and Pulleys to Lower Branches Safely
Ropes and pulleys are the core of this method. Each cut limb is attached to a lowering line. A ground worker controls the descent through a friction device, easing the piece down at a controlled speed. This prevents the limb from penduluming into a fence or crushing a shrub.
Rigging Systems for Controlled Descent
Rigging systems can be as simple as a single rope through a pulley or as complex as a double-block setup with a port-a-wrap. The choice depends on the weight of the limb and the available space. Having completed over 6,000 tree services, we rely on these rigging systems daily because they allow us to protect features that cannot be moved. That volume of work has taught us which rigging configurations fail in tight spaces and which ones consistently leave lawns and patios untouched.
For tight backyards over roofs and patios, see how large trees come down in tight urban spaces with sectional cuts, rigging, and cranes.
Use of Cranes and Aerial Lifts for Precision Removal
Lifting Sections Over Obstacles
When a tree is too large or the drop zone is too small, we bring in a crane. The crane allows us to lift entire sections vertically, swing them over obstacles like a roof or a pool, and set them down in an open area. This is the safest way to protect hardscaping that cannot be covered or moved.
Precise Placement in Tight Spaces
Precise placement in tight spaces comes from communication. The crane operator works with a signal person on the ground who uses standard hand signals. We pre-plan the swing path and landing zone, and we often use tag lines to control rotation. The result is a limb that lands exactly on the designated plywood pad, not on the edge of a paver patio.
Coordination Between Ground Crew and Operator
Ground crew and operator coordination is non-negotiable. We hold a job briefing before the crane arrives to review the lift plan, the location of power lines, and the no-go zones for the outriggers. Everyone on site knows their role and the radio channel for emergency stop.
When work is near utility lines, this overview explains safety risks, duties, and safe tree choices around power infrastructure.
Post-Removal Cleanup and Site Restoration
Thorough Debris Removal
After the last piece is lowered, protection doesn’t stop. We rake the entire work area to collect sawdust, twigs, and wood chips. We lift the ground mats and plywood, then inspect the turf for any depressions. If we find a rut, we fill it with topsoil, level it, and reseed if needed.
Filling Holes and Leveling Ground
Stump grinding, if included, leaves a hole. We backfill that hole with soil and wood chips, then tamp it down to prevent settling. For lawn areas, we may overfill slightly to account for natural compaction. We also check for any irrigation lines or landscape lighting that may have been exposed or damaged during the process and repair or flag them.
Restoring Landscaping Features to Original Condition
Finally, we walk the property with you. We compare the site to the pre-removal photos and notes. If a sprinkler head was nicked, we replace it. If a shrub was accidentally bent, we prune or stake it. Our goal is to leave the yard looking like the tree was never there—except for the open space and healthy plants around it.
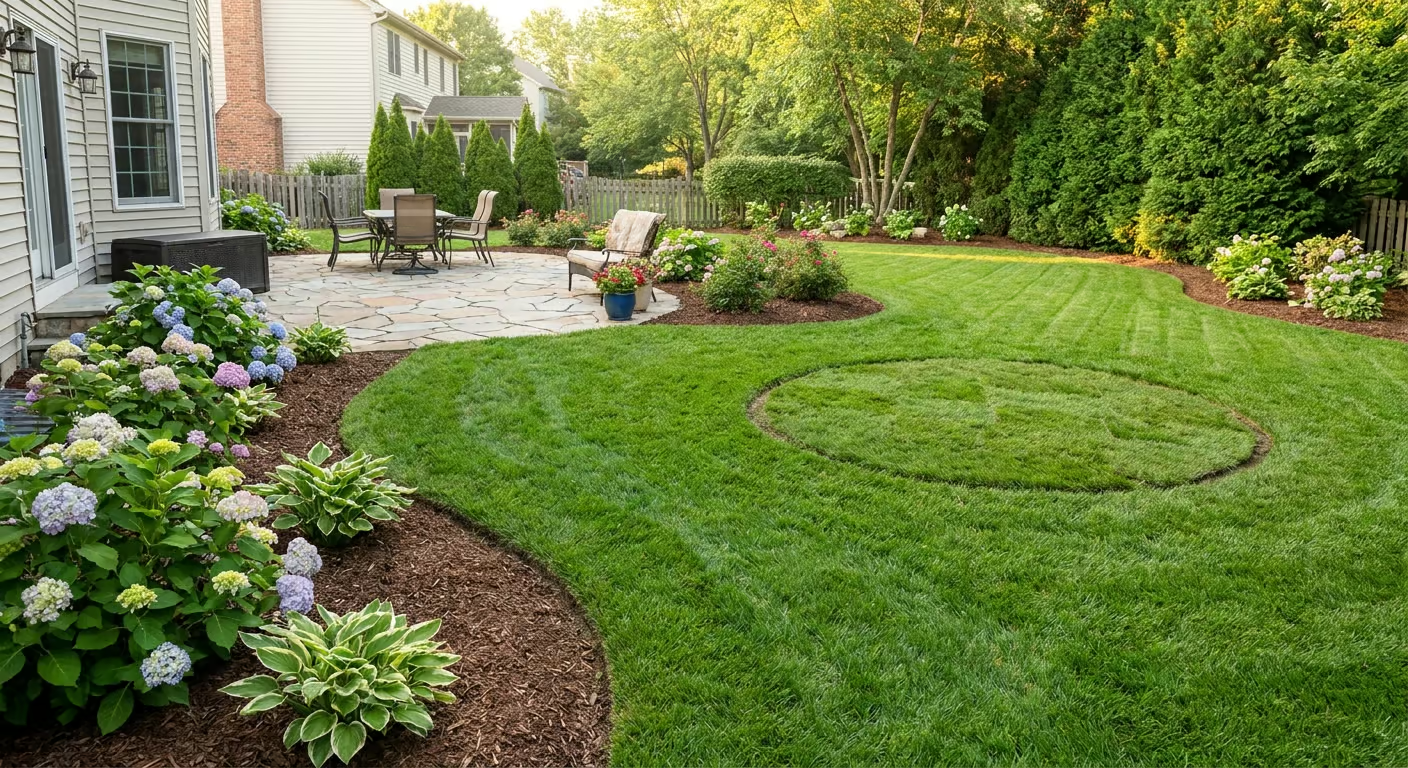
If a major tree removal is in your future, contact us to discuss a protection-first plan for your property. We’ll assess your specific landscape and hardscape and recommend the safest removal method for your site.
Areas We Serve
For an at-a-glance view of our coverage and process in your area, these hub pages bring everything together—where we work nearby, how we stage a site to protect what stays, and the practical details relevant to your neighborhood.